If you are wondering how to add an extra page to your Meta Business Suite and configure the structure correctly, don’t worry! We are here to explain it step by step.
Having an organized platform where all aspects of your company’s operations can take place efficiently is essential for growth – and Meta Business Suite makes it easier than ever to get set up and ready. We’ll walk you through how to add a page and configure its structures quickly so that you can start utilizing this platform right away!
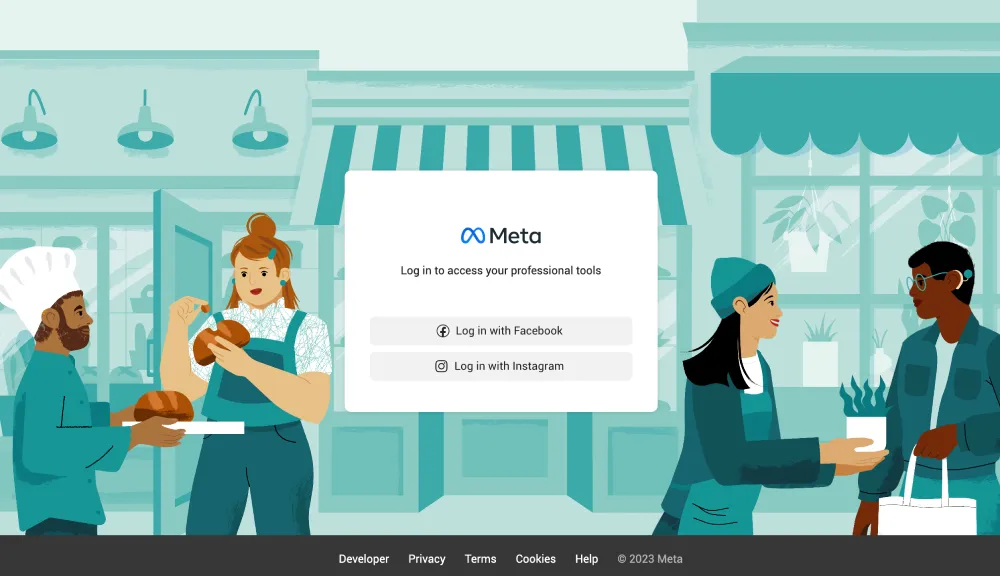
Step 1: Log in to the Meta Business Suite
Step 2: Facebook page creation
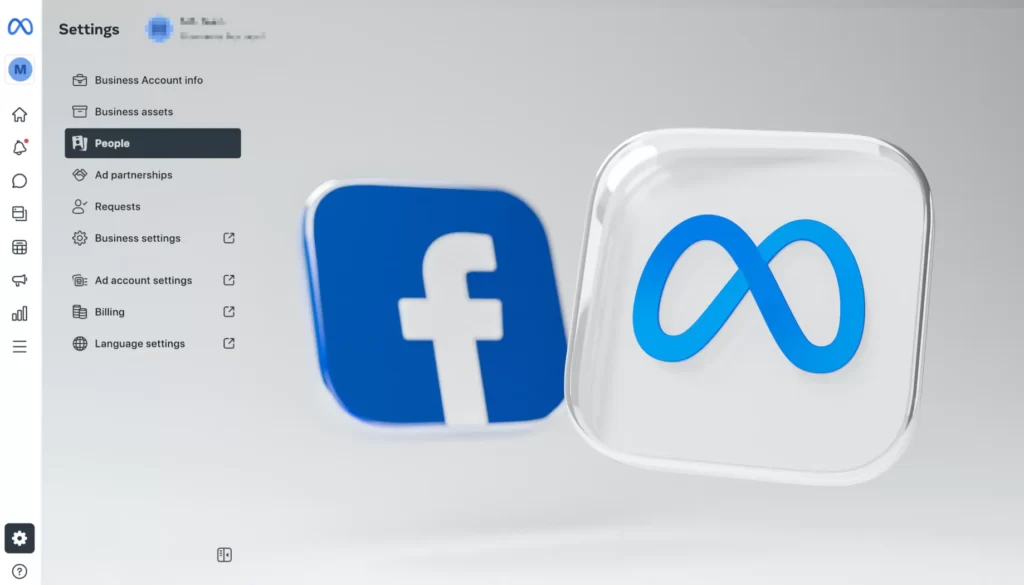
On the top navigation bar, navigate through Settings > Business Assets > Pages. In the top right corner, click on the Add Assets button.
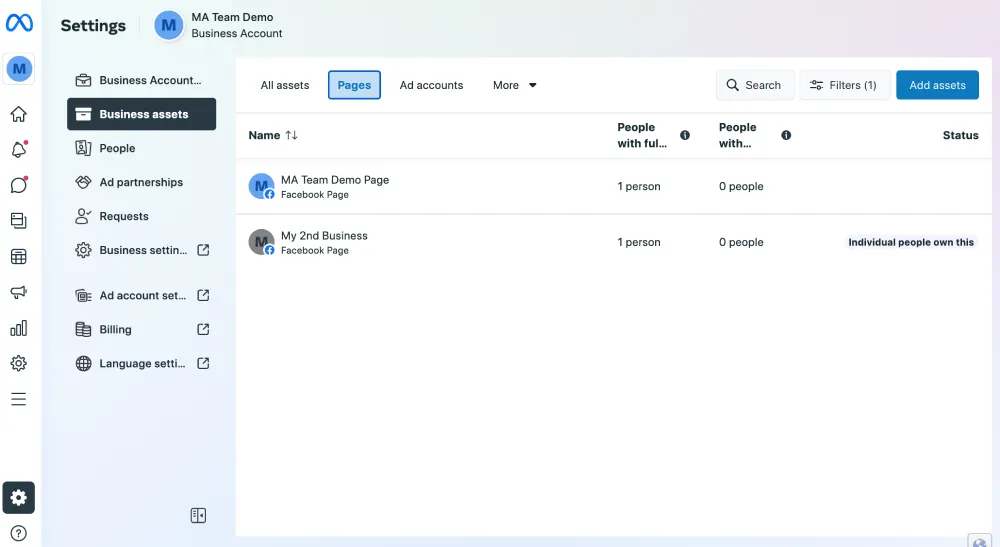
Let’s say we want to create a new Facebook page.

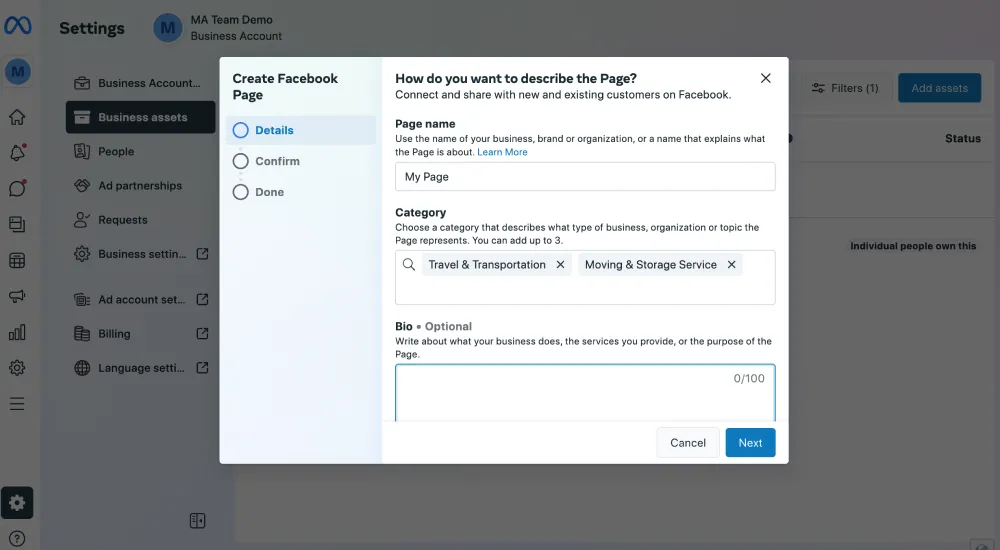
After that, you will be guided through a couple of configuration steps.
In the first field, enter the Page name, then choose a category that describes your business and write a short bio.
In the second step, you just need to confirm that you agree with Meta Terms of Services and Pages, groups, and events policies. Click on the Create Page button.

In the end, your page is created successfully, and you just need to click Done.
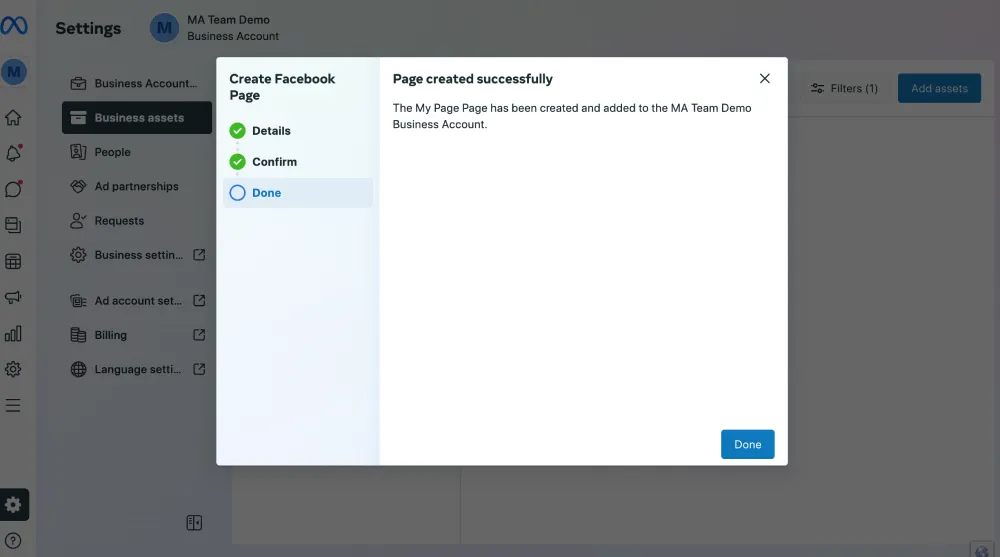
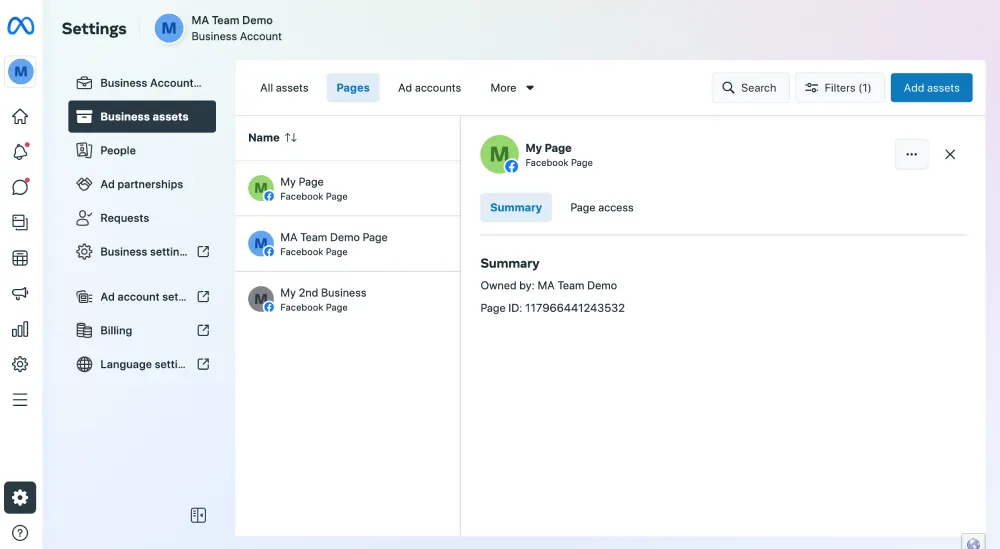
After clicking Done, you will see your new page on the Pages list.
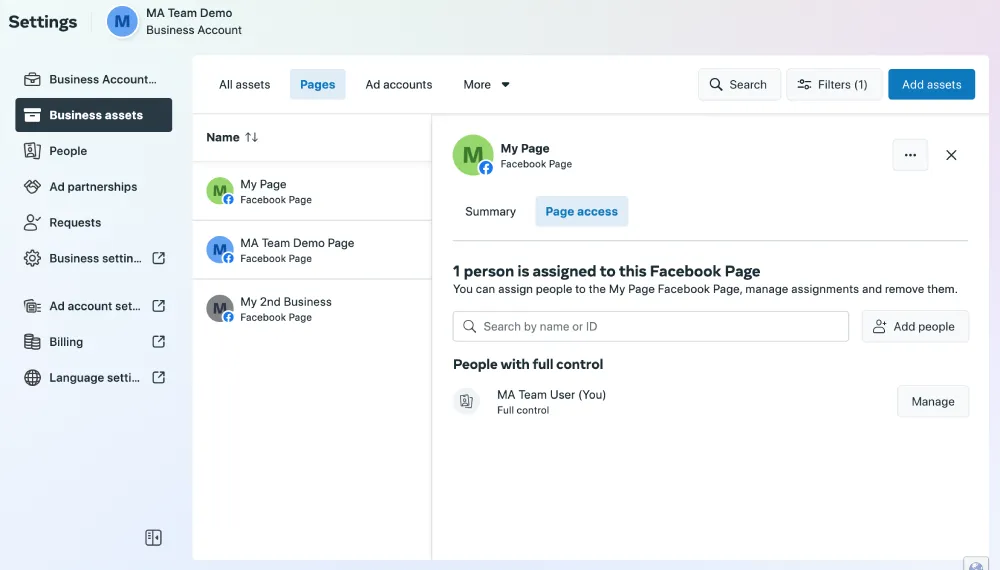
Step 3: Add New Users access to your Page
When you click on Page Access, you will see a list of users that have access to your page. Here you can add new people or manage existing ones.
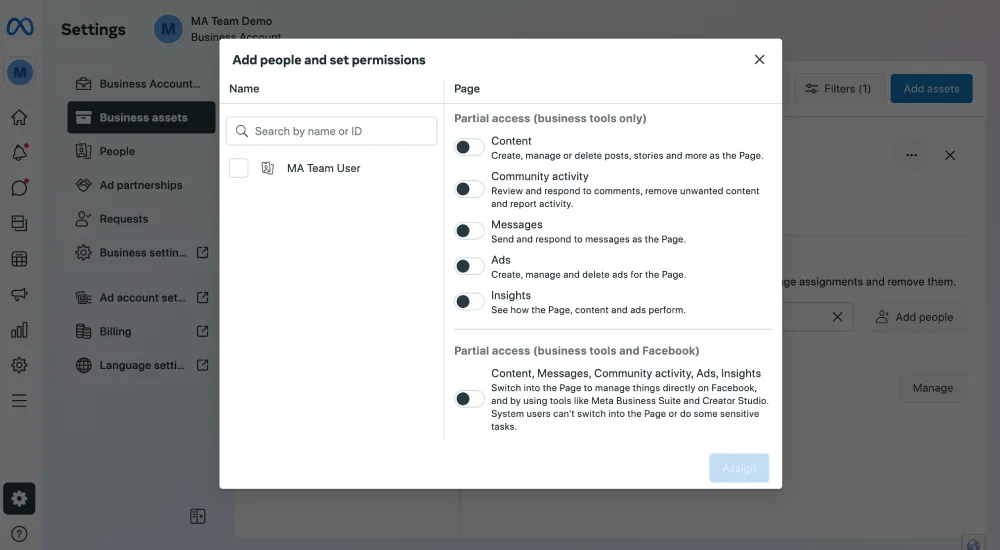
When you click on Manage, you will see this popup where you can choose which type of permission you will share with a new user.
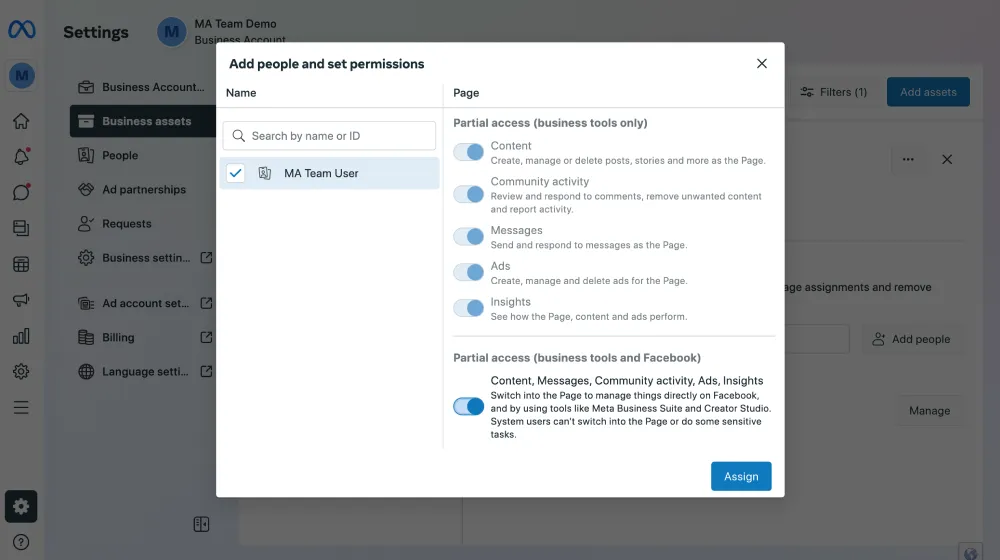
Choose permissions that suit your needs and click Assign. You can give all or choose specific permissions.
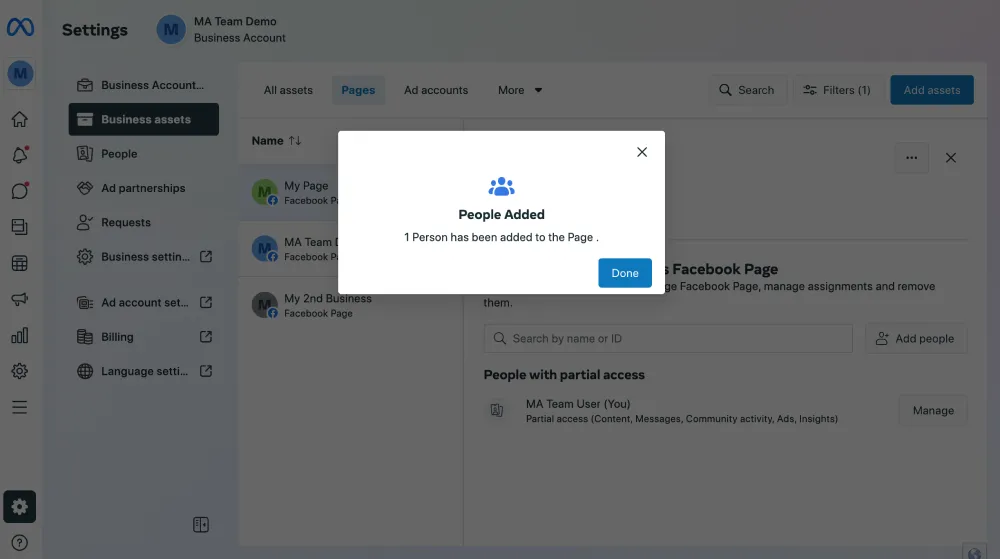
After you press the Assign button, you will see a success message – People Added.
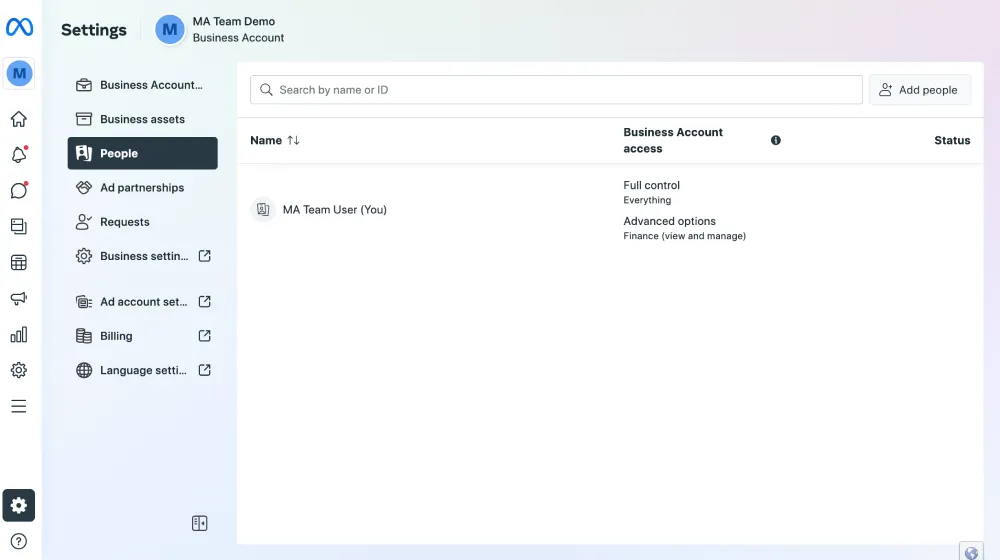
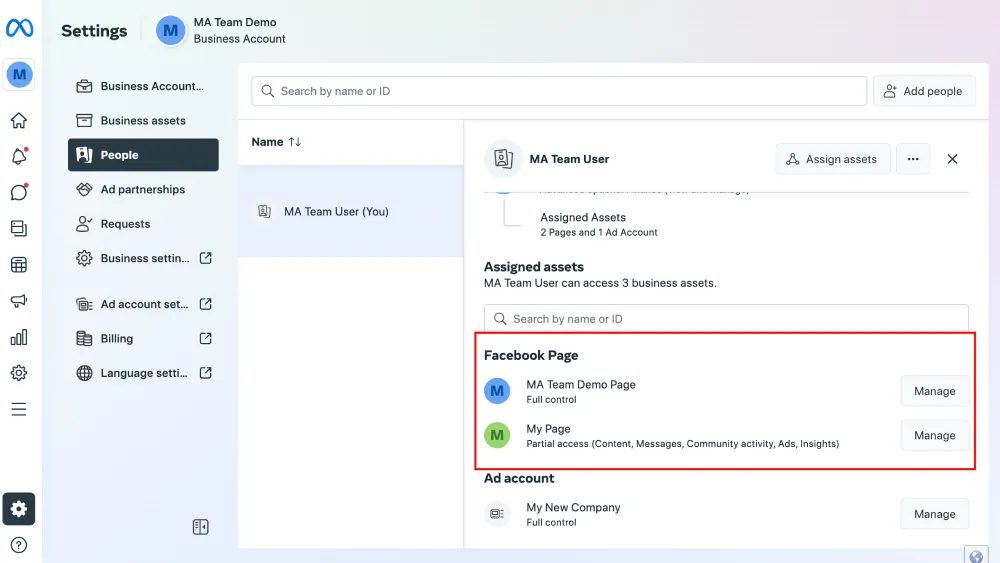
Step 4: Manage existing users privileges
Inside the People section, below the Settings menu, you can see which users have access to your pages and what kind of privileges are given to them.
From this point, you can click on the desired user, and you will be given a few options.
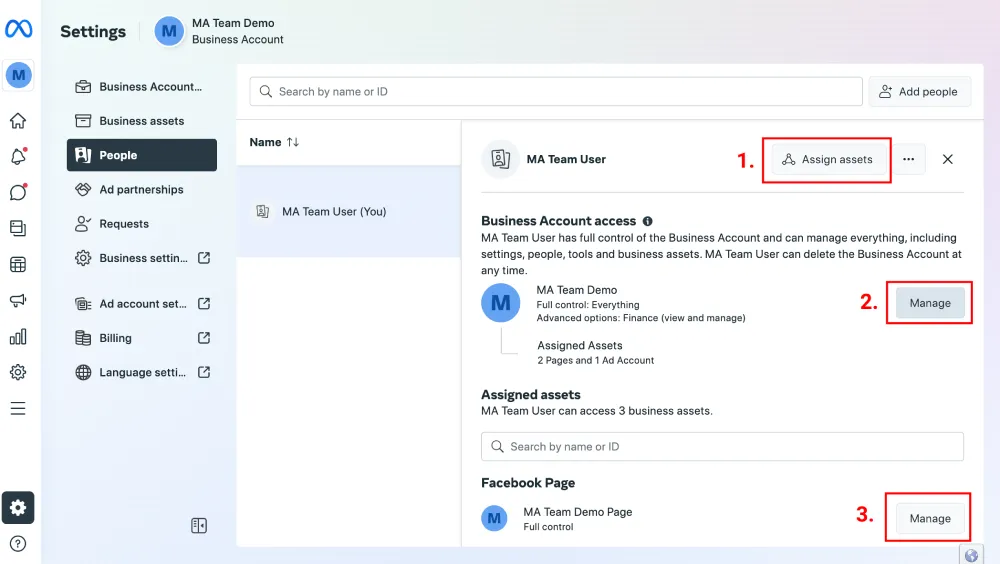
Option 1: By clicking on the Assign assets button at the top, you can select which page or any other asset type you want to share and what kind of privileges the user will have.

Option 2: If you click on Manage in the Business Account access section, you will be able to Manage assignment for that user.

Option 3: If you scroll down, you will get to the Assigned assets section, where you can manage users’ access to each page, like you did when you created user in the first place.
By following the provided steps, your new page will be up and running in no time. You will be able to establish the entire framework, including adding users and managing them. With a proper setup, you can greatly benefit from improved collaboration, faster search times, and better customer service. We wish you all the best with your business!